Home| Home Improvement Tips | Water Damaged Furniture

Water, even though it is necessary for life, can be terrible when it damages your furniture in your home. Before you think about getting rid of your water damaged furniture, there are steps you can take to try and salvage your item. Here are some tips that you can follow to help you repair water damaged furniture.
-
Remove surface dirt and mold.
The very first thing you should do is get off all of the surface grime to prevent mold from spreading. It is a good idea to bring your piece of water damaged furniture outside to prevent a bigger water mess inside. Put protective, disposable gloves on and begin to clean with a scrub brush. You can mix two full caps of bleach with three caps of mild liquid dish-washing detergent in half a bucket of warm water. Stir the liquid carefully with a stick or your scrub brush and then scrub the furniture thoroughly with your soap mixture. Wash off the soap with some plain water and repeat the process until your furniture is clean.
-
Remove water stains.
Next, you want to try and remove water stains with wood furniture cleaner. Apply the cleaner to a soft cloth. Mix a few drops of orange oil in with the cleaner, and rub it onto the furniture in a circular motion. Repeat this until the stain lifts. You could also try to lift water stains using mayonnaise or salad oil dressing. Just remember to remove the excess mayonnaise with wood cleaner.
-
Sand the furniture.
Sand the furniture with an electric sander if the stain is not easily removed. Use a sander with 220-grit sandpaper. Open the windows for proper ventilation and put on a dust mask to keep yourself from inhaling wood dust. Sand in the direction of the grain. Sand the water-damaged areas first. Remove wood dust with a clean paintbrush, and continue sanding the remainder of the furniture to even out the finish. Remove any remaining dust with your paintbrush.
-
Strip the furniture
Stripping furniture using a chemical agent is the easiest way to remove deep-set stains without removing layers of wood. Dip a clean paintbrush into the chemical stripping agent, and apply it to the surface of the furniture in smooth strokes. Wait for the chemical agent to oxidize, or begin to bubble. Then, take a scraping tool such as a putty knife and scrape the surface of the furniture. After stripping it, sand the furniture again, this time with 100- to 150- grit sandpaper to remove excess stripping agent. Remove extra wood dust with your paintbrush.
-
Glue loose joints.
First, remove old glue by sanding inside the joints with rolled-up 150-grit sandpaper. Remove wood dust and place glue inside the joint, and reattach the table or chair leg. Put a clamp on the joint and let the glue dry overnight. You can also use epoxy wood glue for hard-to-glue sections.
-
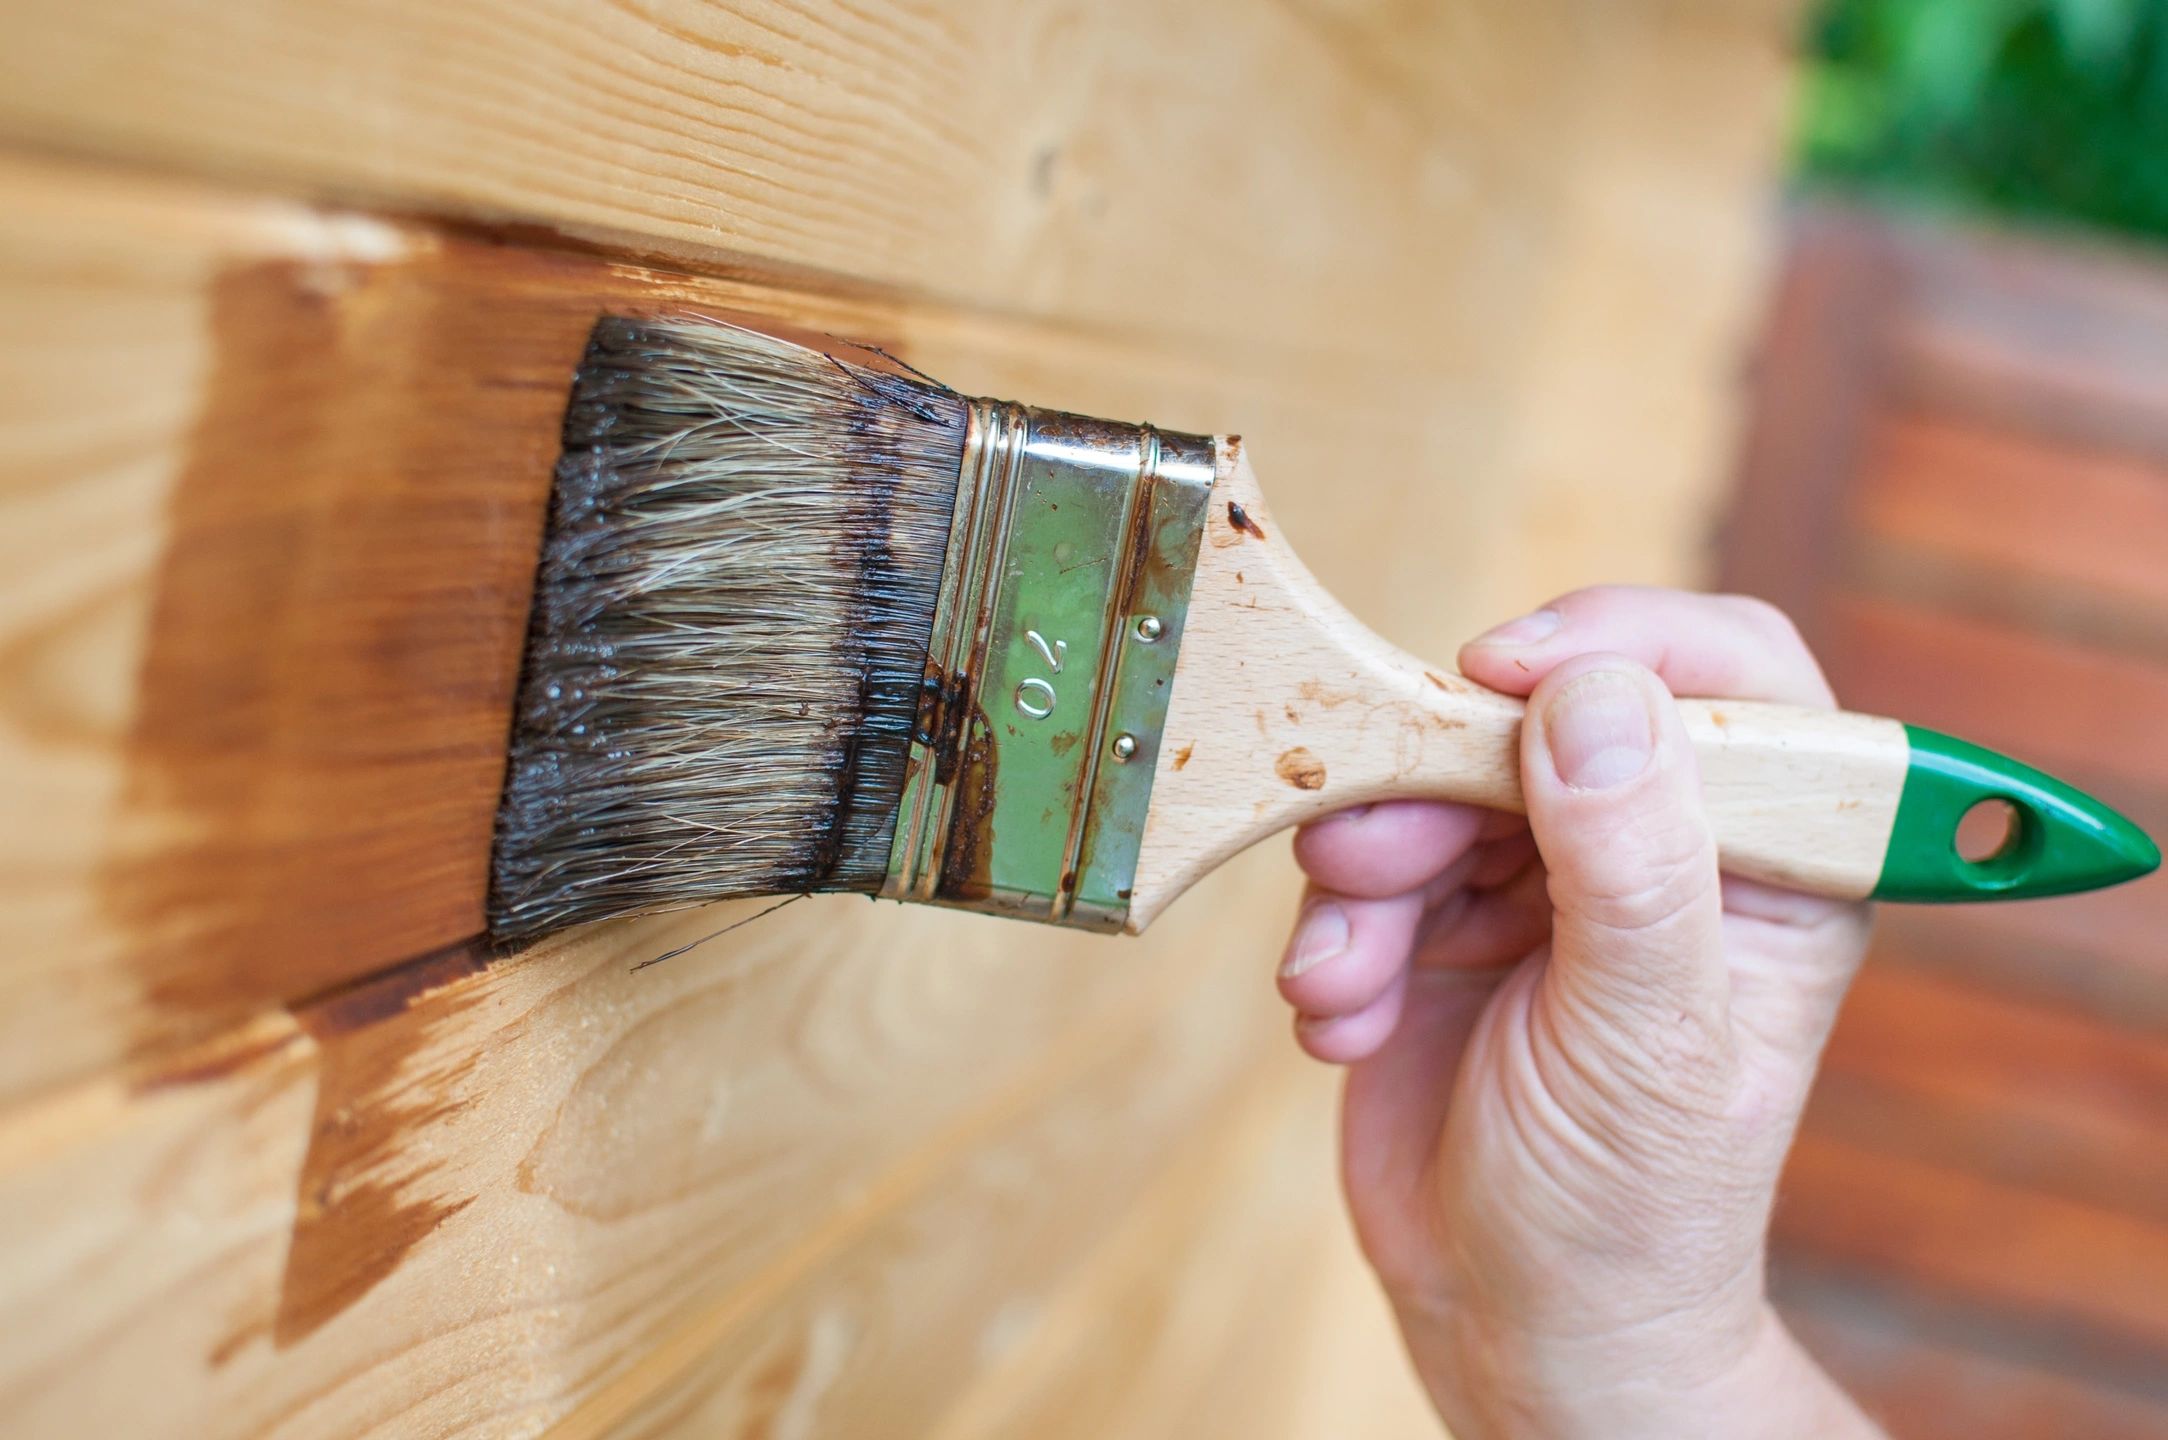
Stain or paint the wood.
Once all of your repairs have been made, you can choose a stain or paint to use on your furniture. Using a waterproof stain or latex enamel-based paint is a good idea to help prevent further damage. Remember to paint is even strokes and apply two coats of stain or paint. Let the first coat dry before applying the second. Once the stain or paint is dry, you can then add a clear coat of varnish to finish.
_____________________________________
To learn more about Van Dyke Home Improvements’ services, business practices and references, click on About Us. You can read customer reviews on our Testmonials page. Be sure to look at our Carpentry Photos and Remodeling Photos that feature many “before and after” photos of our recent projects.
Contact Us
For more information, or to request a quote or discuss a project you are considering, please call 631-859-0405, or email bob@vandykehome.com.
